Key driver for this tutorial - "I am quite impressed with the concept of this product Kissinsights.com and the problem area it is trying to solve with the level of simplicity"
STEP # 1 - Registration to kissinsights.com
Visit website www.kissinsights.com and fill-in the form for free sign-up with kissInsights. While signing-up with Kissinsights you will have to specify what is the type of your website... a blog... or product selling ecommerce website etc... Since, the type of survey that you can present on your website will ultimately depend on the nature of your website, make sure you select relevant category to work this in your favor.

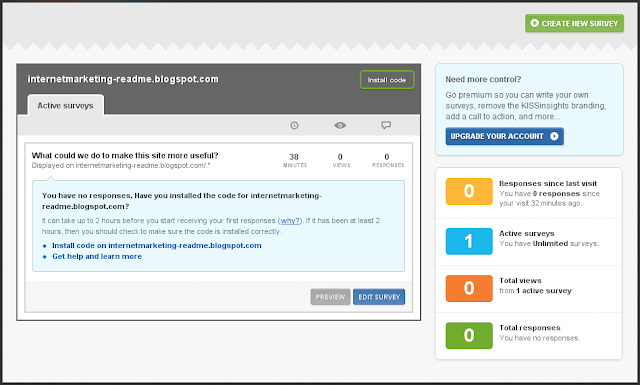
STEP # 2- Login to KissInsights dashboard

STEP # 3 - Create new survey

STEP # 4 - Select the type of Survey you want to show up on your website

Configure the survey further to specify which parts of website it should be displayed (applicable to), and how frequently you want the responses to be sent to you.
Remember - for the FREE account, you can get a max of 30 responses per survey, and you can create unlimited surveys. For, more responses you will have to upgrade the account to paid version.
Also, you can have only one survey per URL. (Natural rule)

STEP # 5 - Once, the survey is created, now is the time to install the code on your website / page.
Click on "Install Code" button on your dashboard in order to receive the CODE snippet that you need to PASTE immediately after the <Body> tag on your web page, in order for it to take effect.


STEP # 6 - Check it out - Live in action


No comments:
Post a Comment